Friday, February 15, 2013

Tower Garden Tabbouleh Salad

There came a day for me when I couldn't stand it anymore.  All the waiting, the longing...loneliness overcame me.  I was undone!  And that day was Sunday.
I needed Tabbouleh.
Now, in case you don't know what that is, here's a little history lesson for you.

Growing up in the home I did, there was a constant stream of foreign exchange students.  We had it all!  Russian, German, Korean, Chinese, Japanese...and Turkish.  That's when my life changed.
They made us Tabbouleh, and I've been hooked ever since.  Here is the traditional rendering of this dish, as brought to my family by the Turks.


Tower Garden Tabbouleh Salad
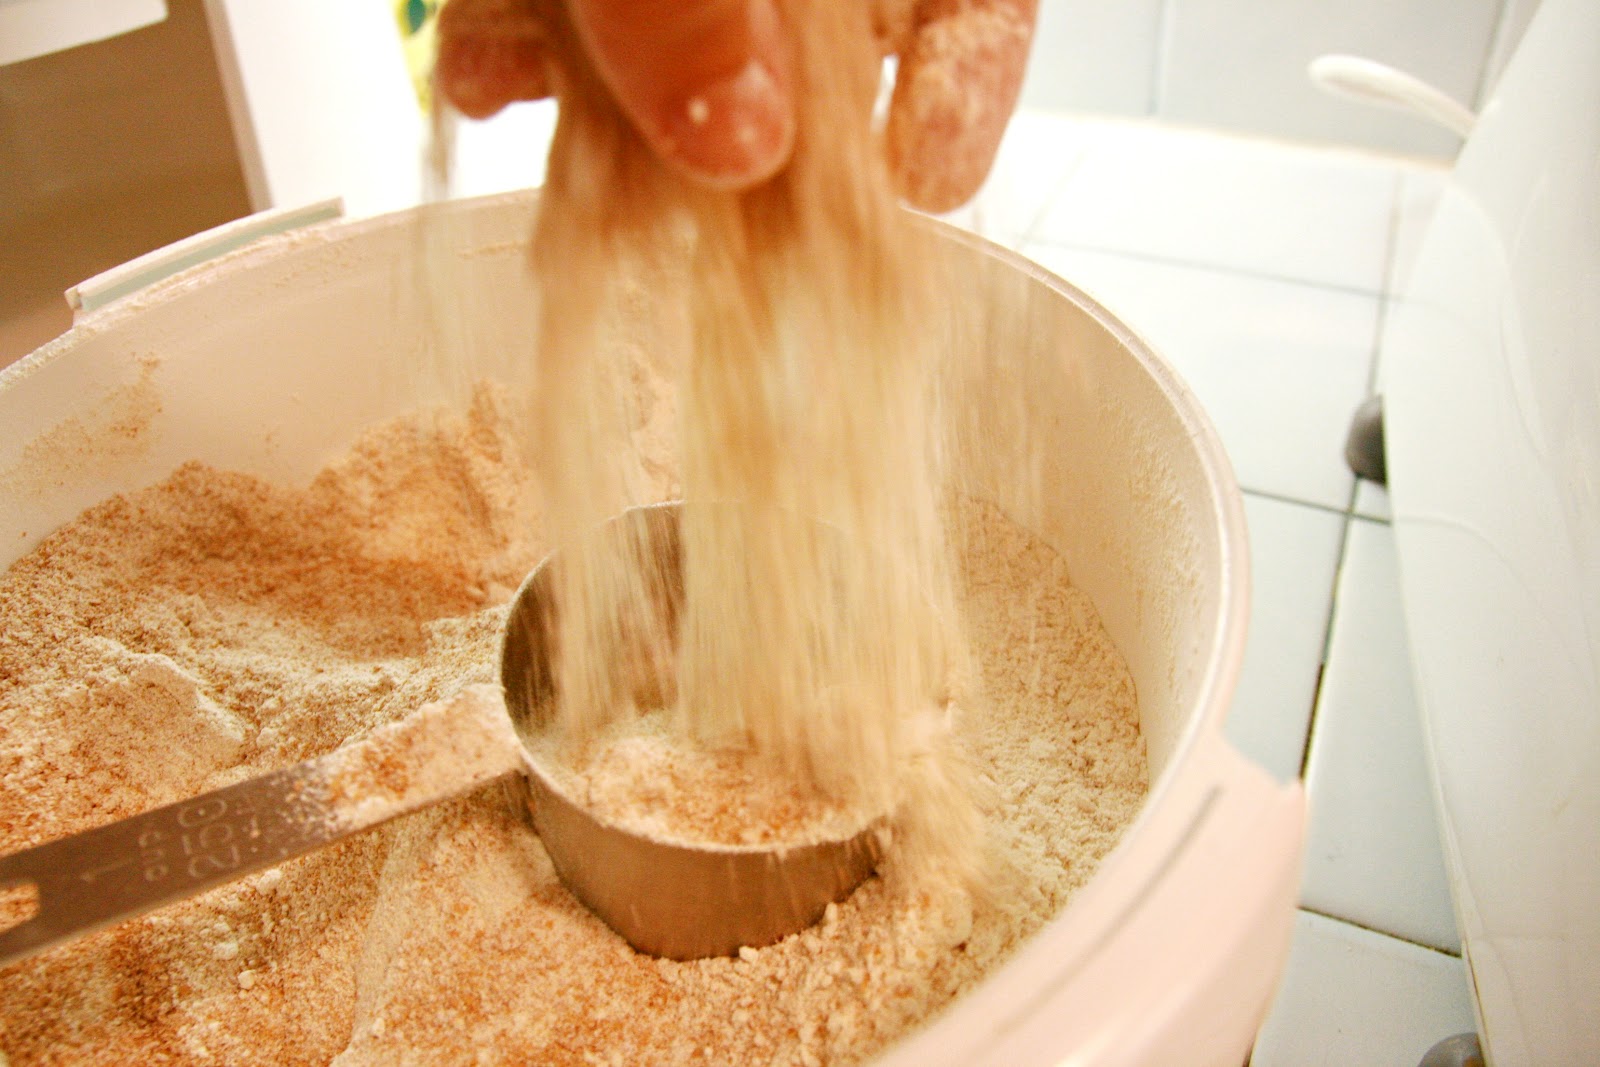
-2 cups of bulgar (cracked wheat)
-5 roma tomatoes (seeds removed, diced)
-1 bunch of green onions (6 inches, finely chopped)
-1 handful of FRESH mint (finely chopped)
-1 handful of FRESH flat-leaf parsley (finely chopped)
-1 1/2 lemons
-salt & pepper
- grapeseed oil

 Now, before I am run away with myself, I should tell you that bulgar can be found in Middle Eastern food markets and many health food stores.  Call ahead to check for stock.  :)

You can prepare your bulgar one of two ways.
Modern Method: Boil bulgar in water for 10 minutes - 1 to 2 cup ratio.
Traditional Method: Soak room temperature bulgar in water until soft and squishy, 1-2 hours.
When bulgar has been softened (either by cooking or soaking), squeeze excess moisture out of it using your hands.  Then toss it in a large bowl.  Bulgar should be room temperature or cool, never hot!
Add tomatoes, onion, mint, and parsley.  (Your kitchen smell outstanding by now.)
Squeeze the lemon into the bowl and drizzle in about 1/4-1/2 cup of grapeseed oil.
Salt and pepper to taste.  Mix until blended and irresistible.

You can stuff lettuce leaves or pita bread with this stuff and enjoy!
(Or you can eat it by the spoonfuls when no on is watching.  I'll never tell. ;)

Right about, you may be saying, "Waaaait, wait, wait!  What's this Tower Garden nonsense?"
Simply put...it's the best thing that's happened to gardening since God created Eden!
I grew both my mint AND parsley for this recipe in my Tower...and it's hea-ven!  ;)
Here's a 5-week time lapse of my growing adventure!


Thursday, January 24, 2013

Baked Kale Chips

My sister planted some kale in our garden about two months ago now, and we have lots.
So, I'm kinda on a kale-kick.  Been juicing, smoothy-ing, and now....chipping!
A dear friend of mine recently introduced me to this crispy, satisfying recipe.  Thanks Ms. Trish!


Baked Kale Chips
-10 kale leaves (cut out stalk and tear into bite sized-pieces)
-1 tablespoon of raw coconut oil
-sprinkle of mineral salt

Preheat oven to 350 degrees.
Place your washed, de-stalked, torn up kale into a large bowl.
Add coconut oil and sprinkle on some salt.  (Pretend it's fairy dust.  That makes it more fun. ;)
Now comes the fun part...
Toss the kale with your hands until each leaf is oil-and-salt-coated.
Then lay all the leaves out on a cookie sheet.  (You can crowd them because they shrink.)
Bake for 11 minutes.

Then pull them out and begin rapid consumption of yumness.
The four of us sat down around the coffee table...and these were gone in 3.7 minutes.
Seriously.  You will love them.  :)

{The Adventurer}

Monday, January 21, 2013

Spiced Kale and Red Pepper Bean Chili

You know, when it's cold outside, there's nothing like a bowl of spiced chili to warm your spirits.
Here's an easy bean pot that will leave everyone (even your carnivorous friends) begging for more.
And with red peppers and fresh garden kale...your body will high-five you.  ;)


Kale and Red Pepper Bean Chili
-2 cans of pinto beans
-2 cans of navy beans
-1 can of black beans
-1 small can of tomato sauce
-1 red bell pepper diced (or  1/3 cup dehydrated red peppers)
-1 medium onion (or 3-4 heaping tablespoons dehydrated onion flakes)
-mineral salt
-smoked paprika
-chile powder
-ground red cayenne pepper
-granular garlic
-4 large kale leaves (cut out stalk and tear into bite-sized pieces)

First off, I must confess that I use home-dehydrated peppers and onions.
If you choose to use fresh, I would suggest lightly sauteing them in a tablespoon of raw coconut oil.
Do that as your first step.  Then...

Empty the canned ingredients into a soup pot over medium heat.
Then add dried peppers and onions.  (Unless you used fresh.)
Next, I season the whole pot to taste.  Now, I realize that this can drive some people crazy, so I'll provide you with some "guesstimated" measurements for each seasoning.  ;)
Salt: 1-2 teaspoons
Paprika: 1/2 teaspoon
Chile: Powder: 2-3 tablespoons
Cayenne Pepper: 1/4-1/2 teaspoon
Garlic: 1 teaspoon

Those are my loose estimates for you.  Ha!
And after a quick taste test, you can customize the blend to your own personal taste preference.
Let the pot simmer on low for about 15-20 minutes, stirring occasionally.
Just before mealtime, toss in the kale, mix, and let it sit for a bit. 
(Or you could let the whole pot sit overnight to flavor-mesh.)

Eat it alone as a soup...or pour the steamy deliciousness over brown rice.

Breathe deeply.  Savor.  Be filled!

{The Adventurer}

(PS) I'm growing beyond-organic kale at home in my new Tower Garden.  Seriously, the coolest thing!
Check them out here: https://annagrace.towergarden.com/
You'll be glad you did. :)

Wednesday, January 16, 2013

Candied Nutmeg Walnuts

These are absolutely deLISH warm or cool!  Either way, you're in for a treat. ;)
And, to top it all off, it's no-brainer-easy!


Candied Nutmeg Walnuts
-1 tablespoon of raw coconut oil
-2 tablespoons of raw agave
-1 teaspoon vanilla extract
-1 1/2 cups of halved walnuts
-sprinkle of freshly ground nutmeg

Take a heavy pan or cast iron skillet and combine first three ingredients over medium heat.
Once blended, add walnuts.  Then, add nutmeg...whatever YOUR sprinkle might look like. ;)
Simply cook over medium-low heat until liquids thicken and cling to nuts.  Stir every minute or so.
When the glaze looks thick enough, spread nuts on wax paper to let them cool.
Or, if you're like me, you'll burn yourself eating them hot...because you're too excited.

Bon appetite, friends!
From my kitchen, to yours.  :)

{The Adventurer}


Tuesday, July 3, 2012

What is Spelt?

Since I posted about my spelt bread recipe, I've gotten the same question from many people:
"What IS is?"

In recent years, wheat has been modified to have a high gluten content for commercial baking, increased yield during harvest, and to be an easy-to-grow crop with a thinner husk.  So most of the commercial wheat foods we consume today are from a fairly new type of grain, in the grand scheme of things.

Spelt, on the other hand, is a very old form of grain.  It's high in protein, complex B vitamins, and contains good levels of both simple and complex carbs.  The composition of these nutrients is also in a simpler form than modern wheat, making it much easier on your digestive system.  It's got a nutty, almost sweet flavor.  I happen to like the taste better than the whole wheat breads I was making.

One of the reasons that spelt became obsolete in our culture is because, as it matures,  a very hard outer husk grows on the berries.  Years ago, that used to make processing the gran difficult because the mass-production methods weren't developed enough to remove these husks "fast enough" to keep up with demand.  (For more history on spelt, check this out!)

These days, spelt can be much more widely available to consumers.  Many organic food companies have brought this grain back to the scene.  You can purchase "whole grain spelt flour" from stores, but in the end, you're still not getting all the nutrition from it that you should.  And, to put it bluntly, you're probably not getting it at all.

The reason is this...
When you grind flour from whole wheat berries, it exposes all that raw nutrition to open air.  This exposure immediately begins to oxidize the nutrients in the flour, making it less and less beneficial to the human body.
Put simply: fresh ground flour + prolonged air exposure = nutritionally dead flour.

The solution to that problem is simple.  By making a one time investment in your own mill (highly recommended), you can grind your own spelt and immediately mix it into bread dough.  This is the only way to truly get THE most nutrition from your whole grain flour...no matter what type of grain you use.

Now that we know all of that...how we hook you up with your spelt?
There are several unusual ways to get a hold of whole grains because, let's face it, you can't just run over to Wal-Mart and get yourself a bag.  Here are a some ideas.

::Online Ordering::
 Go to Google, type in "bulk order spelt grain", and peruse at your leisure.

::Food Co-ops::
By doing an online search, you can find cooperatives in many areas.  Basically, a co-op is when a bunch of people go in together on bulk amounts of food.  Let's say, for example, you can buy a 25-lb bag of spelt online for $40.  If you go in with a large group of people, many companies offer bulk prices, so you may end up spending a lot less than that per person.  See?  Check it out!

::Purchase Directly::
If you are blessed to be in a farming community, unlike me, try developing relationships with your local growers.  I have no way of knowing how much they would charge, but it can't hurt to try right?

Don't worry about sticker shock when it comes to ordering grain.  It goes a loooong way.  When it comes down to calculating the actual cost of baking your own healthy bread this way.  It turns out that it's way cheaper (per loaf) to make your own bread than to buy the supposed "whole wheat" substitutes from the store.  Trust me.  :)

I hope this post has helped you.  If you have more questions, please post them in the comment section.  I'll try to figure things out and help you learn.  It'll help me learn too!

Please note: I'm not suggesting that spelt is the best grain for everyone.  It is up to each person to research, learn, and decide for themselves what is best for their families.  Freedom in health!

Happy spelting.

{The Adventurer}

Wednesday, June 27, 2012

Spelt Bread - From Scratch

YES, it can be done!  You'll like this.


I actually derived this from a wheat bread recipe that a dear friend gave me.  It's incredibly simple, fun, and (of course) deLIcious.  Not to mention it's incredibly healthy, especially for those of you with gluten, egg, and dairy allergies...because NONE of that is in there.  
So without further ado, the recipe.

::Spelt Bread::
9 - 10 cups of fresh-milled spelt flour
3 cups of warm, filtered water
1/2 cup extra virgin olive oil
1/2 cup raw honey
4 teaspoons yeast
2 teaspoons mineral salt
soft, room-temperature butter

Combine water, oil and honey in mixer, set speed to low.  Slowly add 8 cups of fluffy flour* while increasing mix speed to medium.  Add yeast and salt to dough, mix on high speed for 8 minutes.  Turn off machine and cover with cheesecloth, let rise 45 minutes.  Turn dough onto a floured surface.  Gently fold dough (once) in half and gently press.  Cut into three equal parts and shape into loaves, drop into well buttered bread pans.  Set bread to rise in slightly warmed oven* for 45 minutes.  With loaves still in oven, preheat to 350 degrees and set timer for 27 minutes.  Voila!
*Detailed instructions and photos below.

I use a NutriMill for grinding my grains and it's a very nice machine.  But I've had a WhisperMill before and I almost liked it better.  Less nooks and crannies to clean up. Also, it sounded like E.T.'s spaceship.  Major bonus!
For kneading, we use a DLX mixer....I lu-hu-huuuv it!  Only three detaching parts to it, and super easy to maintain.
First, measure out your grain.  When you're grinding fresh flour, you get roughly 1 1/2 cups of flour from 1 cup of whole grains.
While the spelt is grinding, I usually heat the 3 cups of water in a glass measuring bowl for 2 minutes in the microwave.  Then I pour it into the DLX mixing bowl.

Next I add the olive oil and raw honey...in that order!  If you measure out the oil first, then the honey won't stick to the measuring cup.  It just slides right out.  At this point, I turn the mixer on low speed.  Then, prepare for the arduous task of adding the fluffy flour.  "Fluffy flour?  For Pete's sake, what is th..." you may be asking yourself.  Well relax, I'll tell you.

All you do for a cup of "fluffy flour" is set your one cup-er down and sprinkle 'til it's full.  Ta-da!

One cup.  At a time.

When you've got 8 cups of fluff kneading in the machine, measure out your yeast and salt.  I used pink Himalayan salt.  Not really sure of its nutritional value yet...but it's soooo prettyyyy.  8)
About the time you get the salt and yeast thrown in, your dough may look something like this.  If it looks a bit too oozy, that's alright, just add more flour.  Up to one cup extra.  Then let the brew knead for 8 minutes on high speed.

It will look very much like this near the end of the 8 minutes.  Smooooooth.

Then remove the spatula and kneading attachments.  This part always makes me want donuts.  ;)

Cover it up with a cheesecloth and leave it alone for 45 minutes.  No peeking.

And when that timer goes off..........................ohhhhh man.

Use the remaining flour to cover your bread board, cutting board, or counter.

Then, take your loaf pans and BUTTER them to kingdom come!  That's right, I said the "b" word.

Using a spatula, scoop your dough onto the floured surface.

Gently fold and press the lump in half.  This has to be my favorite part of the whole process.  The dough is so soft.  *sigh*  I just wanna cuddle with it like a teddy bear......or stuff my pillow case full of it, right before bed time.  Mmmmh. 

Since I wanted to make 3 loaves, I cut the dough into 3 equal parts.  Logically.

So pretty.  Then pick up each loaf-piece and begin to shape it.

It's basically a gentle rocking motion, side to side, front to back, slowly turning unsightly edges to the bottom.

Then plop it in your well-BUTTERED pan. 

Take a moment to stop and admire your adorable doggy woggy who has been begging during the entire process.

Then proceed with your shaping practice.

POOCHIE!!!....................okay, done now.

And there you have your three beaUtiful spelt loaves!  (Pay no attention to the top one.)

Then place them inside a slightly warmed oven for 45 minutes.  (I set my oven at 150 degrees for about 5 minutes, then turn off the heat just before I put the bread in to rise.)  And when the timer goes off, reset it for 27 minutes, skip merrily over to the oven, and preheat that bad boy to 350 degrees.
And after those 27 minutes are up (including the preheat time) you end up with THESE babies.  The system I've got right now is truly fool proof.  I know that for a fact because I've done it. 
I hope you've enjoyed this tutorial and I look forward to hearing how it all goes for you.
This bread is fantastic however you decide to eat it.  My personal favorite treat is simply toasting a slice, slathering it with butter, and drizzling it with raw honey.
That sounds good right about now.

{The Adventurer}